While wrapping up a client’s website install & customization project this month, he’d asked for a video tutorial on a few things. A sensible request, right? Well, in the past, it’s always felt like more of a headache to try and download some software, record the video with so-so quality, save the content to my computer, and then figure out how to re-upload it all somewhere to share with the client.
Can I be honest? WHAT A PAIN.
So before taking on his video tutorial, I decided I’d try something different. I started doing some research on free tools…because why pay for it if there’s something that works great fo’ free? Keep your expenses low, remember!
Enter the Magic Tool: Loom
Upon stumbling across Loom, I thought it might be too good to be true. But a few clicks later and I was all set-up and ready to rock.
So far, so good, I thought.
The homepage genius-ly looks like this, encouraging you to get started right away. (It’s amazing what crystal clear copywriting can do, isn’t it!?)
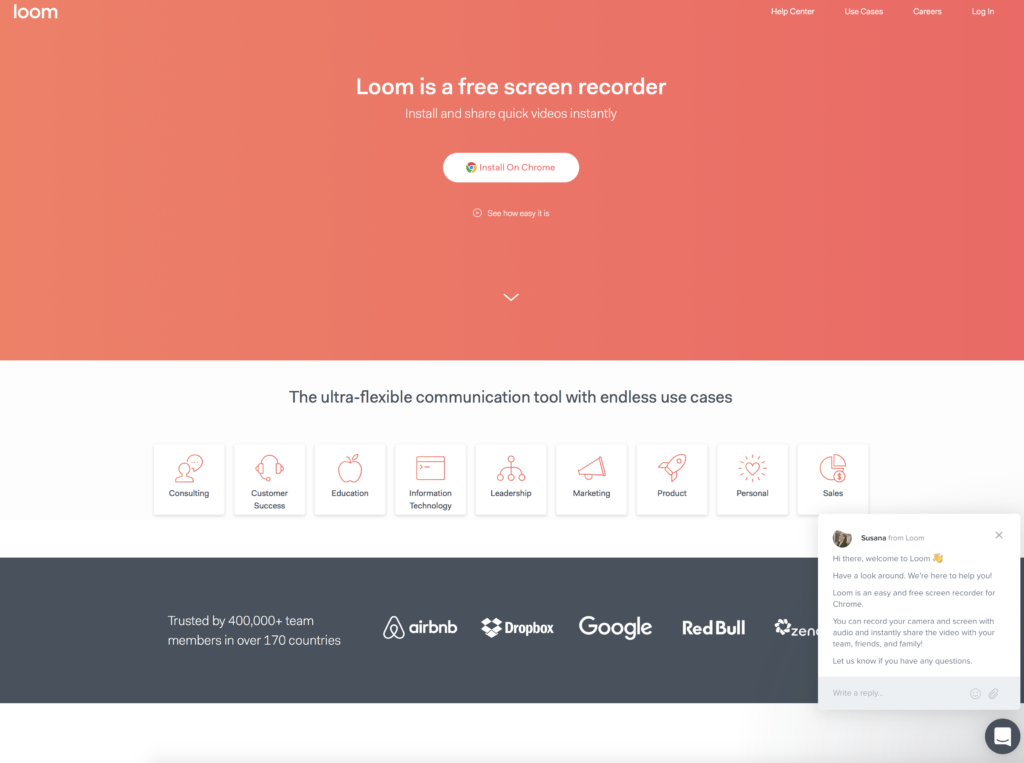
As it suggests, with one click, you can install the Loom extension to your browser. Literally, as easy as Pinterest.
From there, it will prompt you to sign up via Google, Outlook, or an email/password, answer a few quick questions. Next, they’ll provide you with a quick video to ensure you know what’s what. The whole process is less than ~3 minutes.
You’ll immediately see the little Loom icon in your browser bar near the rest of your extensions. When you’re ready to record or start capturing your screen, just click it.
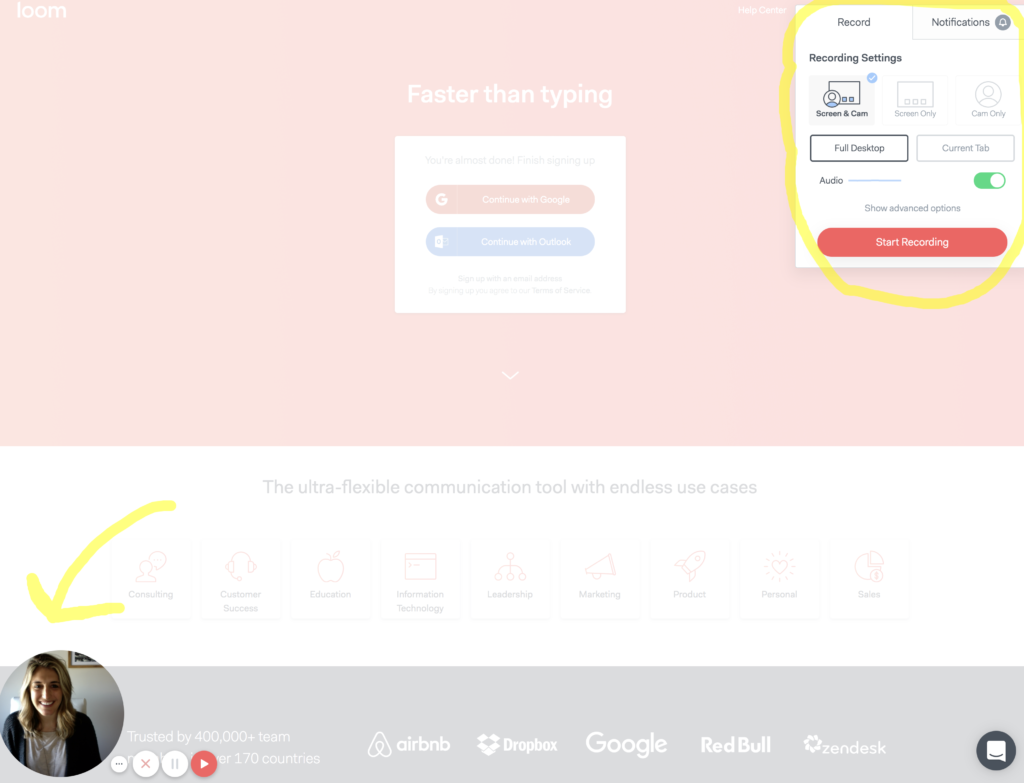
Make sure you “allow” access to your camera and microphone, and then your screen will look like this:
How to Record
You can see where I circled the box in the top right-hand corner. That gives you the option to either show: (a) your screen and the camera (as denoted by the arrow pointing to me in the bottom left corner), (b) share only your screen, or even (c) share only your cam.
You also get the option to (1) show your full desktop OR (2) only the current tab. I recommend the current tab for much cleaner and more professional looking videos. You can still toggle back and forth between different tabs in the video, but it will only ever show one at a time. So no one can see that you’ve been shopping on Amazon or watching YouTube…
Make sure the Audio is toggled to ‘on’ (it should be green) and hit “Start Recording”. After a 3, 2, 1 countdown, YOU’RE LIVE.
I recorded a really short little video below to give you an example. 🙂
Now here’s the best part…as soon as you stop the recording, you INSTANTLY get sent a URL for your newly created video. Not only does Loom generate the URL instantly, it automatically gets saved to your clipboard. All you have to do is “paste” it where it needs to go – let’s say the body of an email, for example.
In this case, I chose to embed the video into this blog post. You better believe that it also provides you with the embed code for that, too! Although you could also watch it at this link.
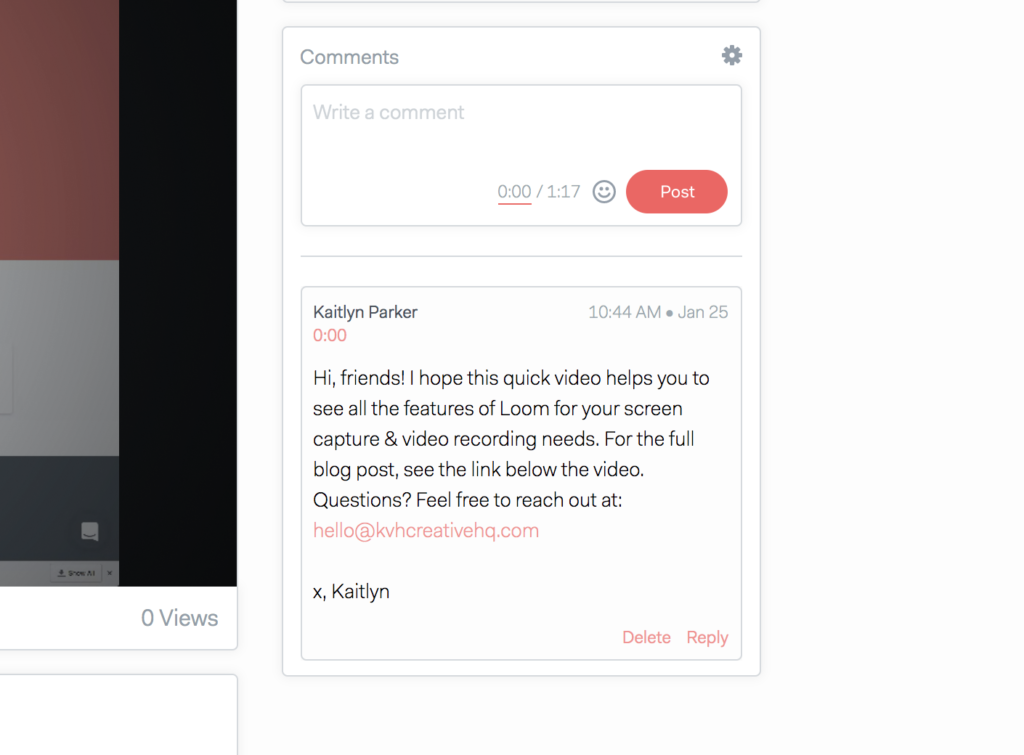
Loom will also allow you to set notifications so you’ll know when someone has watched or commented on your video. When someone comments, it will show at which point in the video they left the comment. Here’s an example of a comment a left on the above video – (you can see that I left it at 0:00, or the very start).
I could go on and on, but that’s pretty much the jist! Now go use Loom to your heart’s content. You’ll be able to create a clean, crisp, and helpful video tutorial using screen capture, sans headache, FOR FREE. (Phew. Can I get an AMEN?!)
Happy Recording!
– Kaitlyn
Disclaimer: This post was not sponsored or endorsed by Loom, all opinions are solely my own.




Read the Comments +